
How to care for plants using essential oils / Comment soigner les plantes avec des huiles essentielles
A talk by Jean-Yves Meignen / Une conférence par Jean-Yves Meignen
Click on the images to enlarge them / Cliquez sur les images pour les agrandir
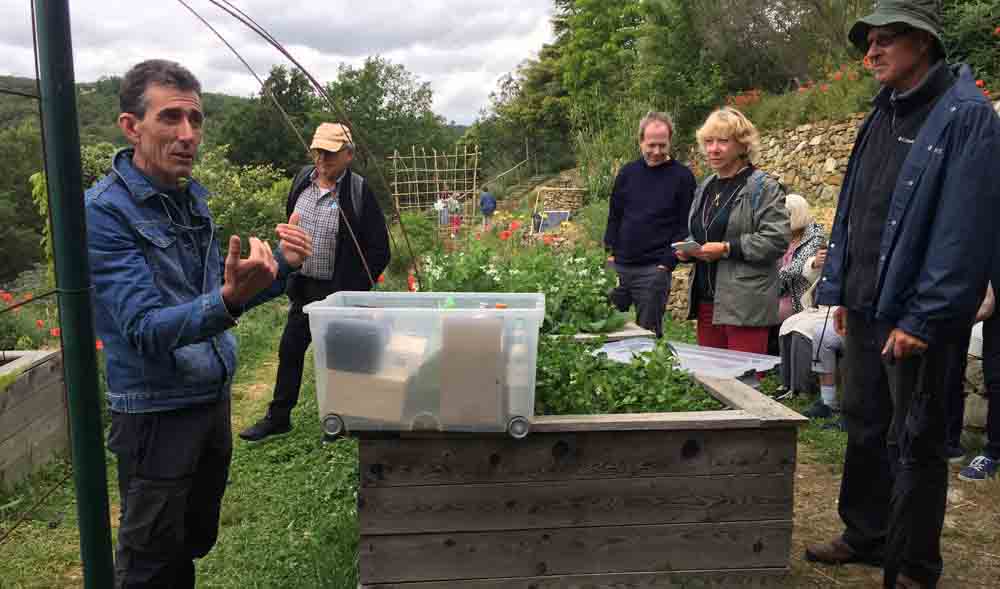
Mr Meignen is co-founder of the garden project at the Abbaye de Valsaintes. He started by tellingus something of his professional life which included working in plant nurseries before creating the garden at Valsaintes.
Monsieur Meignen, cofondateur et associé au projet Abbaye de Valsaintes a nous a raconté un peu son parcours, a travaillé dans des pépinières avant de venir et créer le jardin de Valsaintes.
The main thrust of his talk was to explain to us how to use essential oils to care for plants in the garden. It was interesting that he came upon the subject completely by chance. One day in the village of Simiane-la-Rotonde he attended a talk given by an aromatherapist. He explained that he had a problem with fungal infections on his fingernails, which seem to come from working so much with compost. The aromatherapist advised him to apply essential oil of summer savoury. Although it took a long time, the treatment was successful and his nails are now in perfect condition.
Le point principal dont M Meignen voulait nous entretenir était comment soigner les plantes par les huiles essentielles. Ce qui était drôle c’était qu’il y est arrivé tout par hasard. Un jour dans le village de Simiane-la-Rotonde il y a eu une conférence avec un aromathérapeute. Comme M Meignen avait un problème de champignons aux ongles de ses mains (par le terreau), cet aromathérapeute lui a conseillé de se soigner avec l’huile essentielle de sarriette. Ça a très bien marché et il s’est très vite guéri avec cette méthode (pure sur les ongles).
He was not comfortable with the standard treatments used as fungicides for plants: bouillie bordelaise and sulphur. Sulphur interferes with insect life and can also burn leaves if applied at high ambient temperatures; copper is non-biodegradable and kills life in the soil by making it over-acidic. Consequently, he read widely on the subject as well as carrying out his own research and many trials. Amongst these was a study in the United States about combatting greenfly using an essential oil of peppermint. All these experiments and research lead him to devise a method of treating fungus using very precise dosages.
Comme il était moyennement content avec des traitements à la bouillie bordelaise et le souffre (le souffre gène la vie des insectes et peut brûler les feuilles à température élevée, le cuivre non dégradable, tue la vie du sol en le rendant plus acide), il a fait des recherches et des essais. Entre autres il y avait une recherche aux Etats Unis contre les pucerons avec une huile essentielle de menthe poivrée. Bref, tout ceci a abouti à une méthode de traitement insectifuge, avec des dosages précises.
Treatment by spraying the leaves of plants
It’s important to note that essential oils are 100% biodegradable however they do not mix with water. Therefore, one has to first create a solubilising base which will absorb the oil so that it can then be mixed with water. An important note is that the pH of the water must not be too high. Usually, it is 7.0 or higher and should be lowered to 6.5. Add 1 tsp of vinegar per litre of water and test. pH kits for measuring the pH of swimming pools are useful for this purpose.
Traitement par pulvérisation sur les feuilles des plantes
Les huiles essentielles sont 100% biodégradables, mais ne se mélangent pas à l’eau. Il faut d’abord composer un agent solubilisant qui permettra d’absorber l’huile essentielle que l’on pourra ensuite mélanger à l’eau. Le pH de l’eau ne doit pas être trop élevé. Il est généralement de 7,0 ou supérieur et doit être abaissé à 6,5. Ajouter 1 cuillère à café de vinaigre par litre d’eau et tester. Pour savoir le PH de l’eau qu’on utilise on pourra utiliser des bandelettes de piscine.
Solubol is a ready to use solubilising agent made in Aubagne. Alternatively, one can make it oneself with a mixture of 50% vegetable oil (sunflower or ricin), 50% vegetable-based washing-up liquid or liquid savon de Marseille.
Solubol (fabriqué à Aubagne) est un agent solubilisant toute prête. Ou, à faire soi-même : moitié huile végétale, tournesol ou ricin, l’autre moitié liquide vaisselle végétale ou savon de Marseille liquide.
Quantities:
1 ml of essential oil plus 10 ml of solubilising agent in 1 litre of water. Use an appropriate container: dark glass or aluminium. Use a small pipette or a syringe to measure millilitres. Otherwise, a dropper although this is less precise: 20-30 drops.
Quantités:
1 ml huile essentielle + 10 ml de base solubilisante dans 1 litre d’eau. Mettre le mélange dans un flacon adapté : verre teinté ou alu. Pour obtenir le dosage en ml, on utilise pipette ou seringue. Sinon avec le goutteur, moins précis, 20 ou 30 gouttes.
Treatment of trees by injection
20 ml of essential oil plus 10 ml of solubilising agent in 1 litre of water. Puncture the bark of the tree with a drill using a 1.5 mm bit, being careful not to drill very far. Set up the syringe and fill with about 30ml of the preparation. A good time to do this is May/June together with a rising moon in order to benefit from the rising sap; this is a systemic treatment.
Traitement des arbres par perfuseur
20 ml d’huile essentielle + 10 ml de base solubilisante dans 1 litre d’eau. Perforer l’écorce de l’arbre avec perceuse (à batterie), mèche métallique de 1,5 mm, petit trou. Installer la petite seringue, remplir la poche avec environ 30ml de la préparation. Un bon moment est mai / juin, avec la lune montante pour profiter de la sève qui monte et créer à nouveau un système systémique.
Which essential oils to use?
- Summer savoury (Satureja hortensis) is good for everything
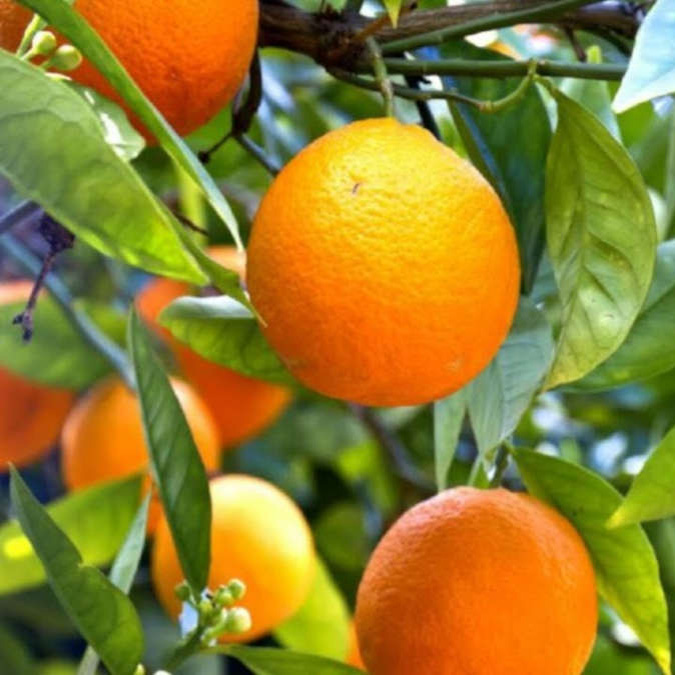
- Sweet orange (Citrus × sinensis) works for everything and is less expensive
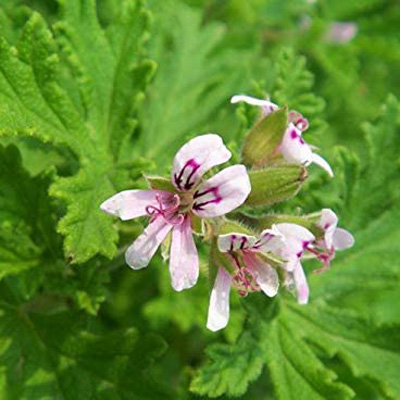
- Geranium rosat (Pelargonium graveolens) for caterpillars
Concrètement quelles huiles essentielles ?
- Sarriette (Satureja hortensis) va pour tout
- Orange douce (Citrus × sinensis) tout et moins cher
- Géranium rosat (Pelargonium graveolens) pour cochenilles

To treat olive trees against olive tree fly, spray with a kaolin ‘milk’ (30g of clay per litre) to which the essential oil of Juniperus communis has been added.
Pour la mouche de l’olive, rajouter au lait de kaolin (lait d’argile 30g par litre) du Genévrier commun (Juniperus communis) et pulvériser sur l’arbre.
Bibliographie :
Prendre soin de ses plantes avec les huiles essentielles par Jean-Yves Meignen.
Rustica éditions
Text: Romarin Girardot et Sylvie Dubois
Traduction en anglais : Frances Horne
![]()